home decor | makeover | paint | projects
Lovely Lamp
Do you remember when I went to the Arizona Tour de Thrift a couple of months ago? Well I picked up this lovely lamp at Goodwill that day. It was in great shape, and wasn’t really in need of a makeover, but when I put it in the girls room, it became obvious that the hot pink was too bright and I needed a softer, more textural (is that a word?) finish on the lamp. So I started to mess around with the lamp, unsure of what the end result would be.


I’m guessing you may not be too excited about the first “after” picture I have here. This is in the middle of painting the pink lampshade. Yes, I painted it! At this moment I was pretty sure I had either lost my mind (ruining a perfectly good lampshade), or I was on the verge of brilliance!
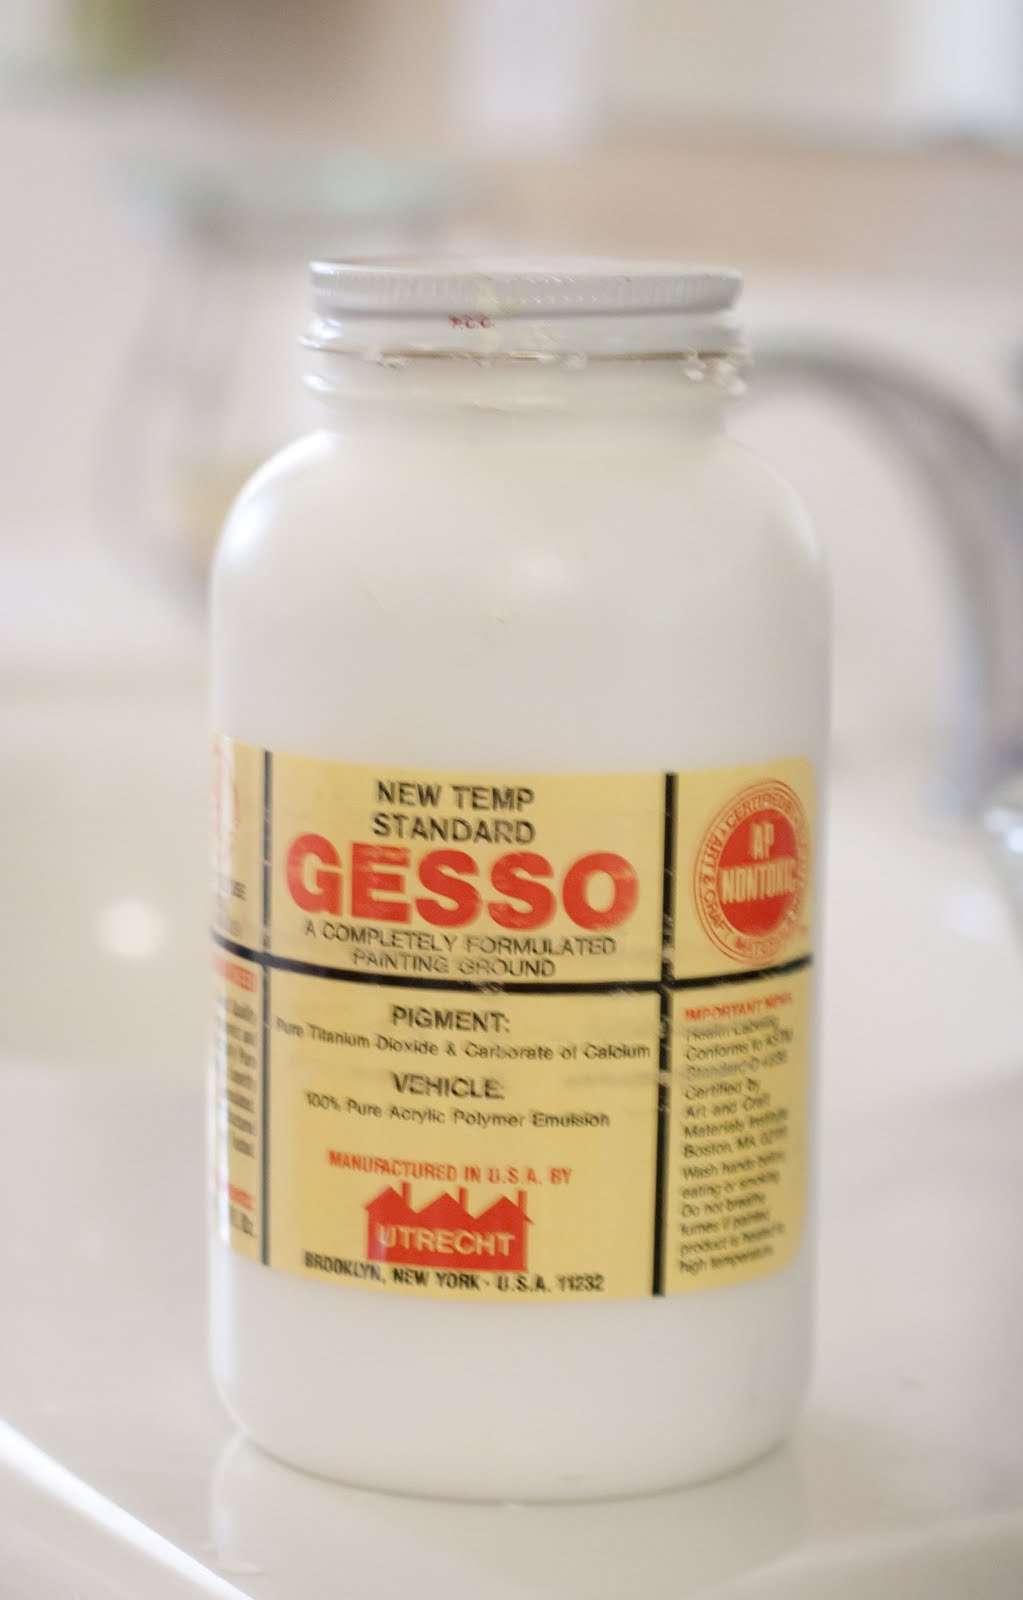
I happened to have some Gesso on hand (don’t ask me why or how–it is very old), and since this is what they use to prime canvas for painting, I figured it couldn’t ruin the shade (probably could have spray painted it too, if I wasn’t worried about the beads). I just painted light strokes on the shade. At first I kind of did a white wash (willing for a little pink to show through), and then decided to go for a little more coverage.
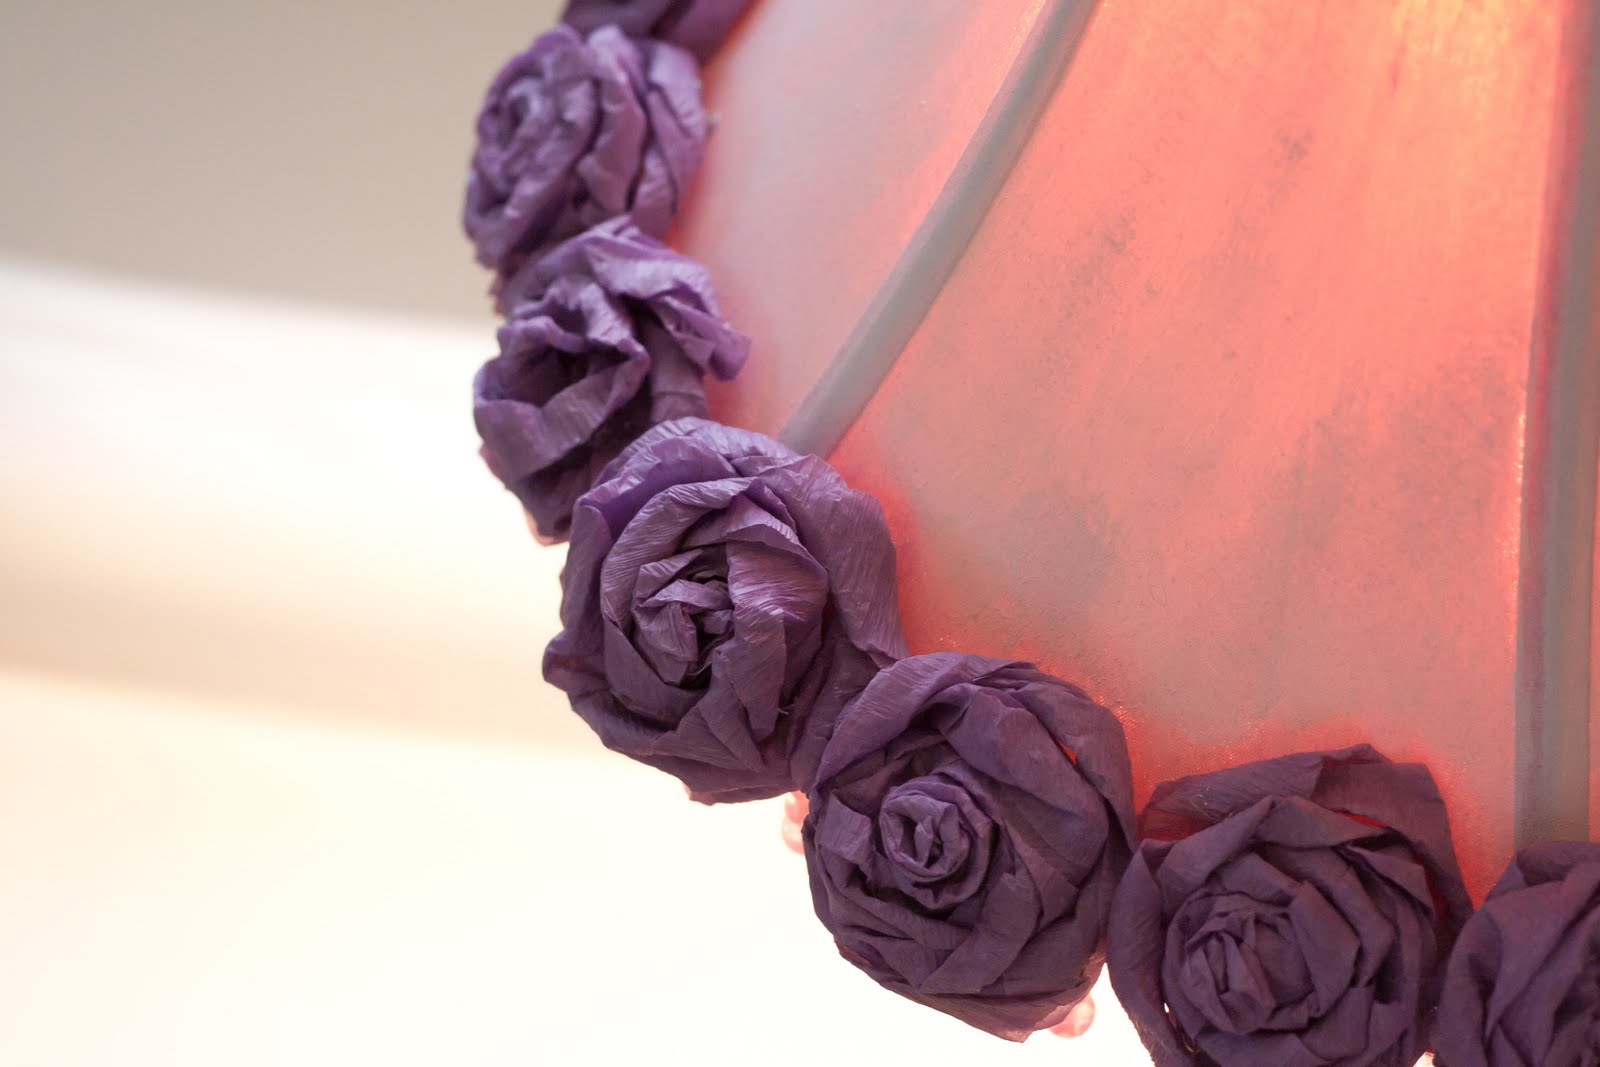
And then I started experimenting with crepe paper roses. I tried some fabric rosettes, too, but ultimately decided to hot glue the crepe paper roses around the edges of the lamp.

I hadn’t made the roses before. I read through a few different tutorials on line, and then kind of did my own thing. Each rose is a bit different, but that is good, I suppose.
I started by folding the crepe paper in half lengthwise. Then folding down a point 3 inches or so from one end.
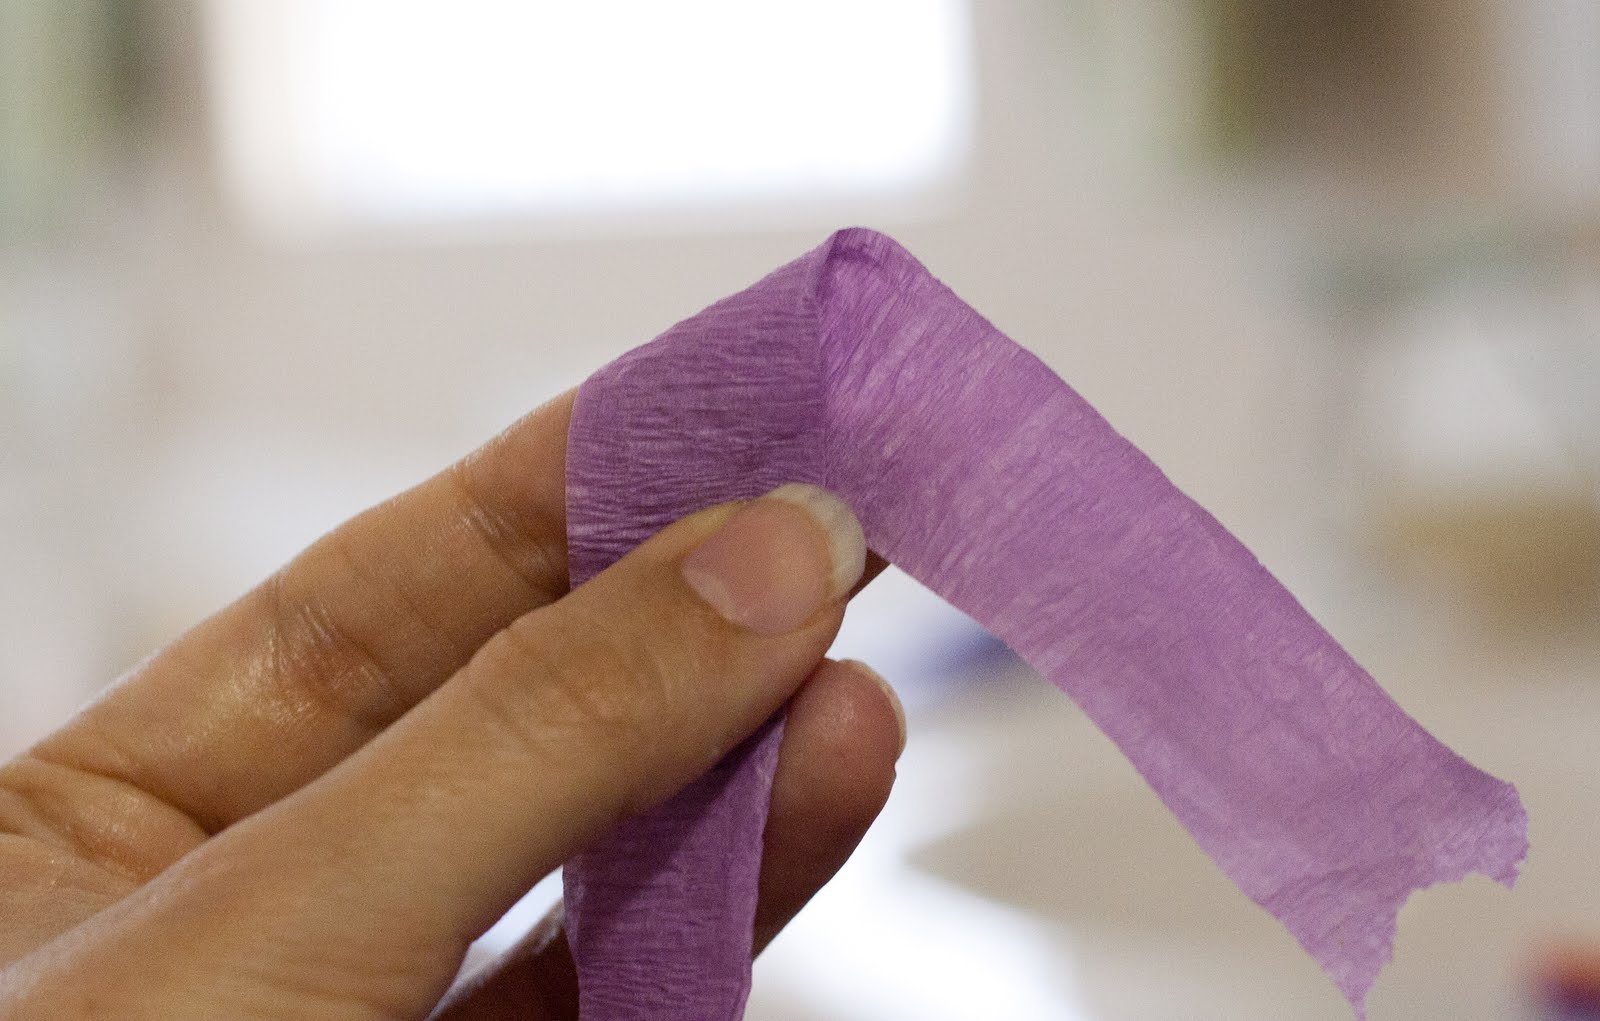
I used the remaining 3 inches to form the center of the rose.

Then I twisted, wrapped, whatever, the rest of the length of crepe paper around itself until I was happy with the shape. Then a bit of glue to itself and some more on the edge of the lamp and voila.
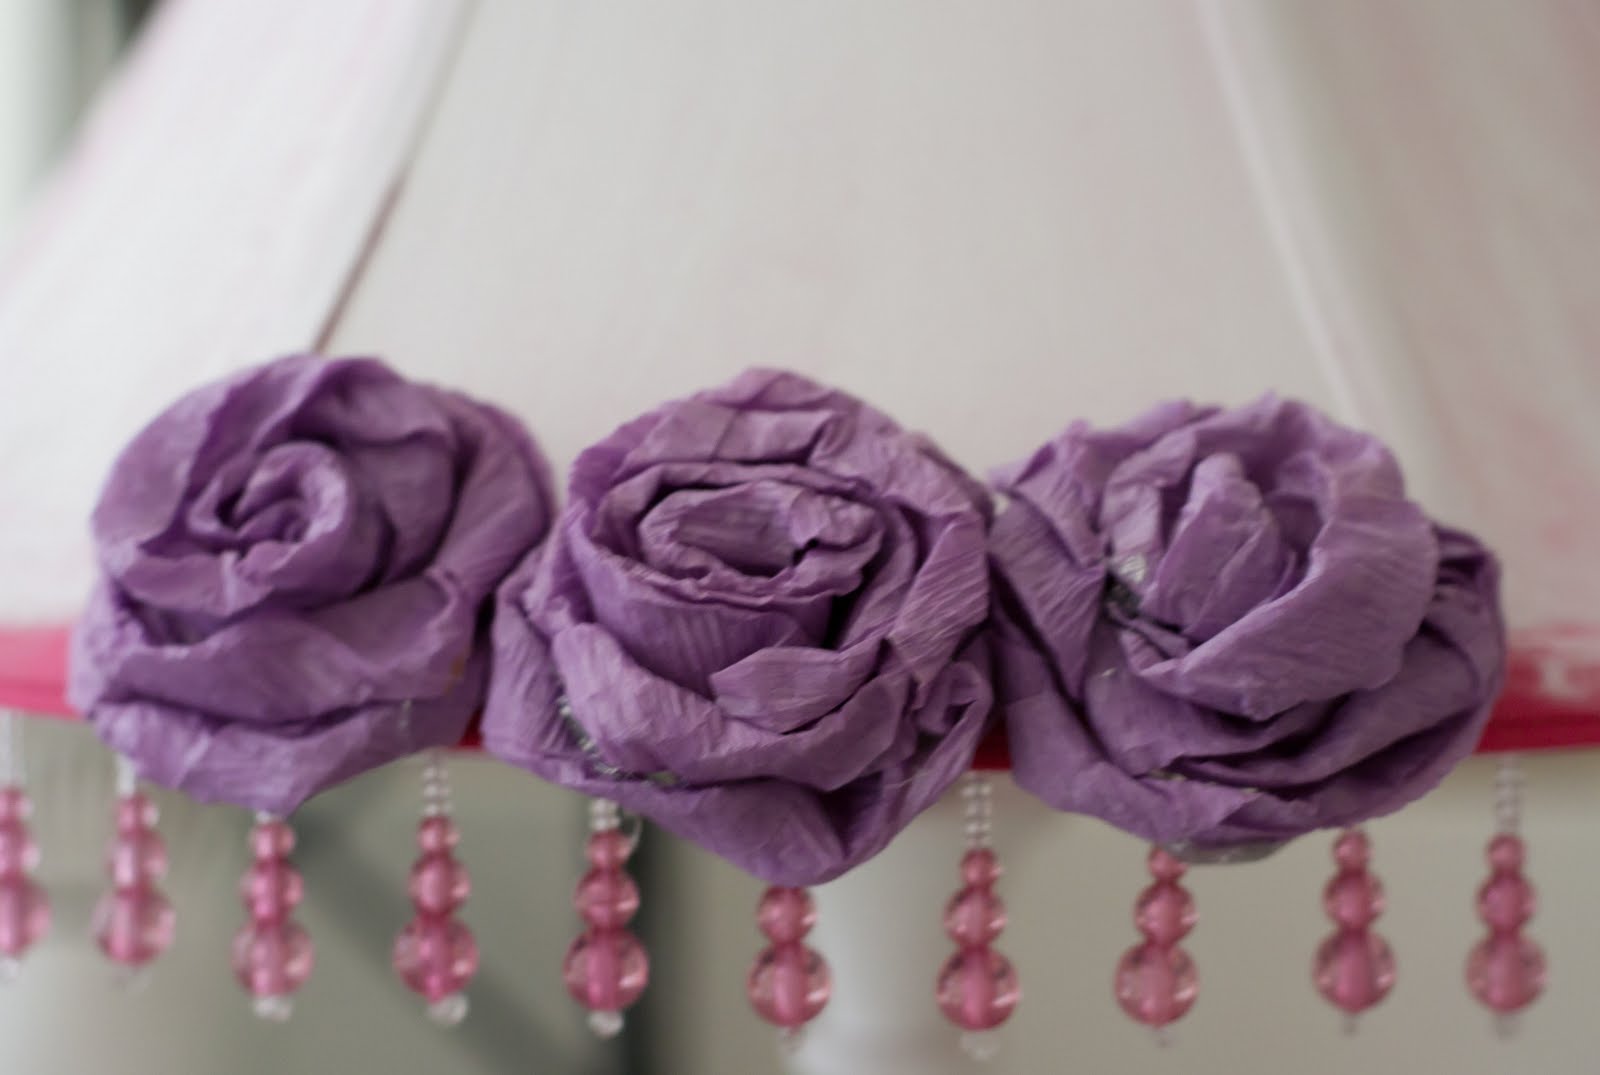
Now, I’m not sure where I got the idea or if it was even necessary at all, but I sprayed each rose with a little aerosol hairspray. I’m thinking this helped lighten and coat the roses a bit. Someone tell me if you’ve heard to do that before, or if I totally made that up! I made smaller roses to go around the top of the shade.
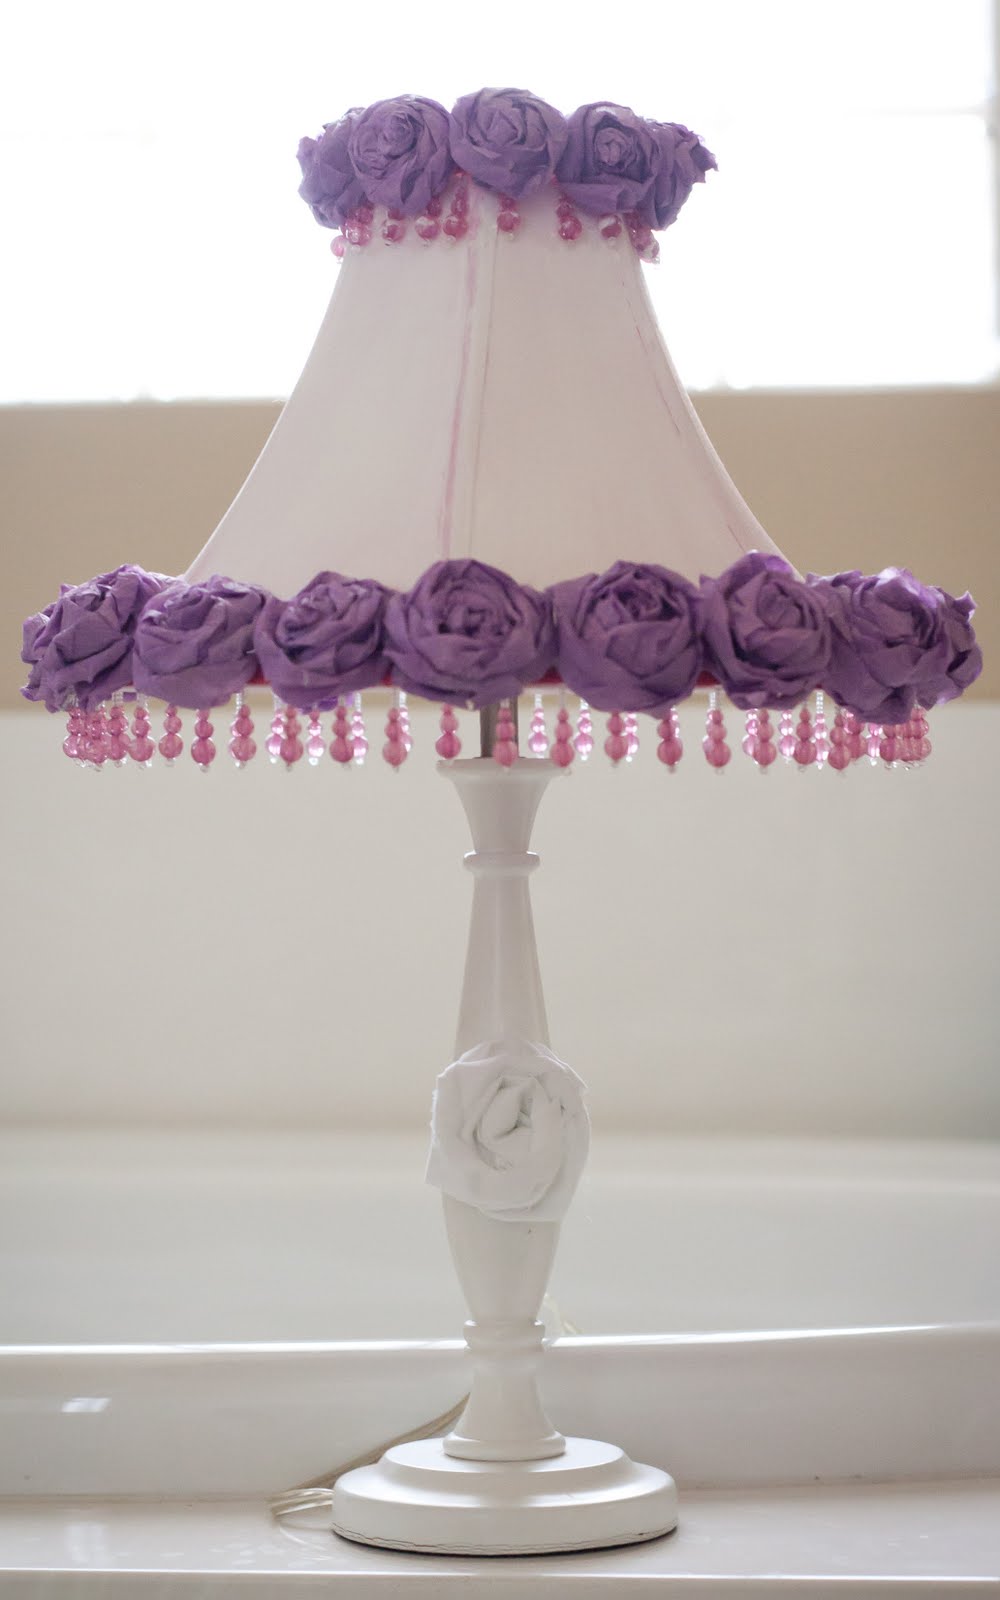
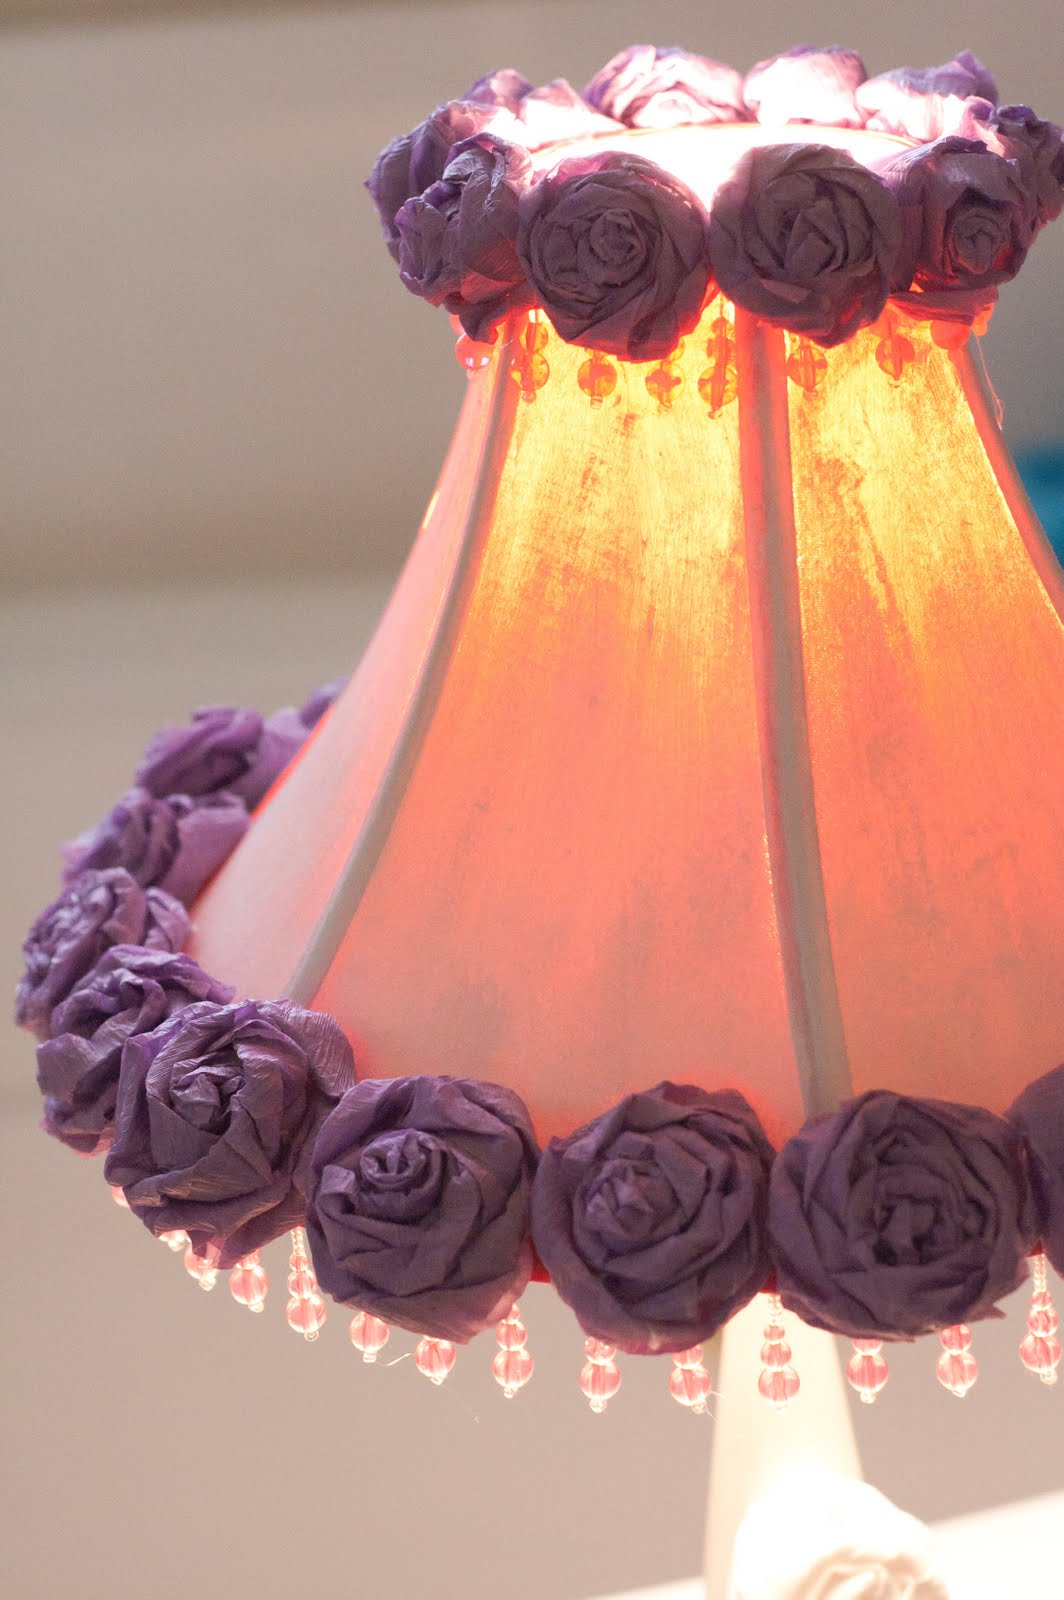
And here is the after! The fabric rosettes I made were too big for the shade, so I just glued one right on the lamp base. I’m trying to decide if I like the streaky effect it gives when lit up. I think it looks kind of artsy. My daughter said I should do another coat of paint.
The whole thing reminds me of some fancy french corset or something. And looks really pretty in my girls’ pretty purple room I haven’t shown you yet (because it isn’t finished)
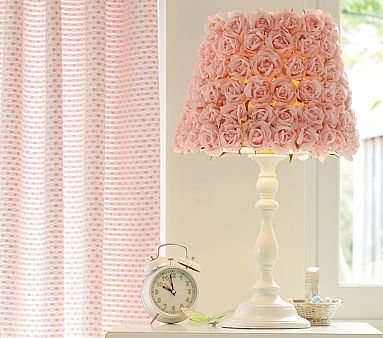
I thought about covering the entire shade with roses like this pretty one from Pottery Barn Kids, but it didn’t seem like it would work well with the shape of shade I was using. You could try it! Just plan lots of time for making roses!


(Visited 176 times, 1 visits today)

GREAT lamp makeover-So pretty for a special rose-loving girl's room! Diana
That turned out great! I love how it shoes a little pink when it is on too. The flowers just add so much!
Oh my gosh the lamp turned out so pretty…might have to try doing one. thanks for sharing!
Just beautiful! Such a wonderful redo.
wow, I love this! I wasn't so sure with the first few pics 😉 but it is super gorgeous!
That is just about the cutest lampshade makeover I've ever seen! Love your tip on turning it white — I may have to use that. 🙂 Great transformation!!
I love it! You did a great job and it looks beautiful when the light is turned on!!
This is stunning! Good on you for stepping out with the paint. I have used liquid hairspray mixxed with powder eyeshadow to spray paper roses but not aerosol. Your post has been featured on Creative Link Up. http://creativelinkup.blogspot.com/2010/08/friday-favourites_27.html
It is beautiful! Way to go on giving the roses a shot! I need to go give my lamp shades a second look!
That looks beautiful!
Your roses turned out beautifully! I wouldn't have known you'd never made any before if you hadn't said. Totally transformed the lamp!
I love this Kendra! It turned out soooo cute.
Thanks for linking up and commenting on my pity party. 😉
xo,
Mique
Super cute! I've had that same pic from PB to inspire me! I'd love for you to link them up at sundae scoop! iheartnaptime.blogspot.com
Super cute! I've had that same pic from PB to inspire me! I'd love for you to link them up at sundae scoop! iheartnaptime.blogspot.com
Super cute! I've had that same pic from PB to inspire me! I'd love for you to link them up at sundae scoop! iheartnaptime.blogspot.com
I love it! LOVE it!!
I love what you did with the lamp. The roses make it extra special. Thank you for sharing!
I like that the pink shows through the paint, cute.
Oh, my goodness… This is one of the prettiest lamp shades I have ever seen!
I have signed up to follow!
Thank you for sharing!
Leticia