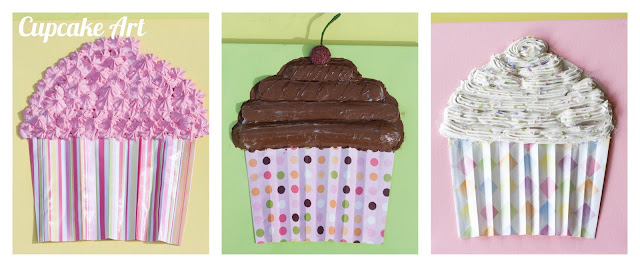
This is the post I’ve been dying to share with you since I completed these back in March! But they were a special gift for my sister-in-law who was pregnant with her 1st child, and could not be revealed until after the shower. (I did cheat and post a few sneak peeks on my Facebook page.) My mother-in-law had found cupcake-patterned fabric for the nursery crib-set and wanted some wall art to go with it. She brought me canvases and a bunch of supplies and let me have at it. (I know…fun! Right?)
The first thing I did was paint the canvases. We didn’t have just the right colors so I custom mixed each one. I wanted them to match the bedding, but be soft and yummy-looking, candy colors.
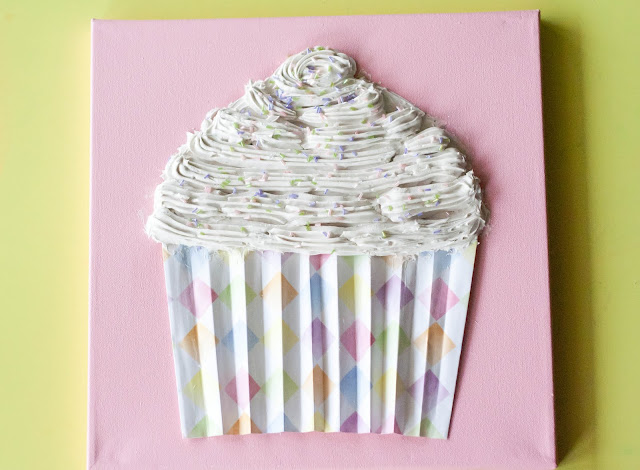
We used my MIL’s Cricut and the cupcake cartridge to cut out large cardstock cupcakes, to help with the basic shape. I pulled some fun papers from my neglected scrapbooking stash and cut and accordion-folded them, to make the “cupcake liners.” After securing the liners around the cardstock forms, I coated them with a layer of mod podge to make them more rigid and a little glossy.
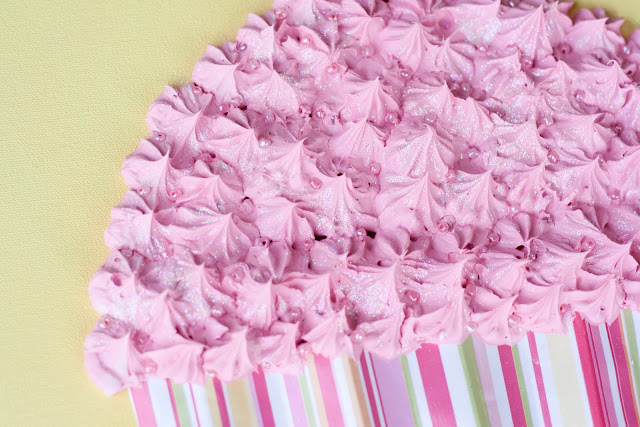
Then came the fun part! While in Michael’s one day, my mother-in-law had seen a demonstration of these products by Liquitex that add texture to your paint. They said they reminded them of frosting. So I had them get me a couple of giant frosting tips and actually piped the medium on to the top of the cupcake art. This took a few tries to get right. I kept getting air bubbles that would splat all over my cupcake, but since the product stays wet for a while, I scraped it back into my piping bag and tried again, until I was satisfied with the result. On this on we added sugar (glitter) and sprinkles (colorful, thin beads).
When I realized how much medium that cupcake took I needed to come up with a plan for the chocolate cupcake that would use it more sparingly but still give the needed dimension. Can you tell what I used?
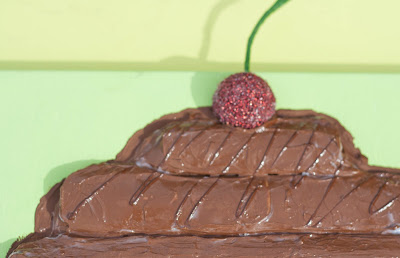
I cut up toilet paper rolls and glued them on to look like rolls of frosting. After gluing them in place, I “frosted” them with brown paint mixed with the medium and a gloss gel medium, so the chocolate would be a little shiny. I drizzled some brown puffy paint over the top for a little extra chocolate goodness.
The cherry is a small styrofoam ball. I cut it in half so it would lay flat on the canvas, then painted and glittered it. I made the stem from floral wire and floral tape.
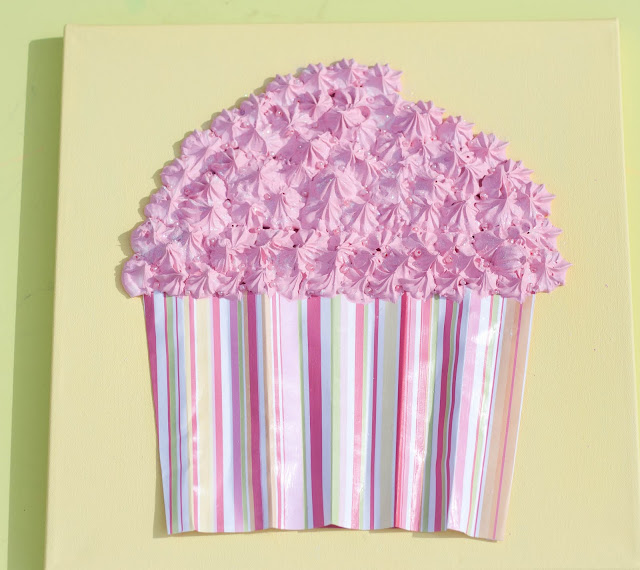
On cupcake #3 I returned to piping. This time using a star tip to pipe the paint mixture all over the top of the cupcake.
I thought the pink could use a little bling, too.
I sprinkled pink sugar (glitter) and used tweezers to position the tiny pink pearls.
And while I haven’t seen for myself, since they were transported across the country to their new home, my understanding is that they are now hanging above the crib of my beautiful new niece, making her parents hungry each time they go in her room.
(NOTE: I’m working on finding a link to the Liquitex products I used. Will update post with that info as soon as I find it!)
(Visited 215 times, 1 visits today)











Kendra, you are so awesome! I've seen them hanging in the nursery and your wall art is just amazing. When I asked Amber where she bought them I wasn't surprised when she told me you had made them. They are perfect!
WOW! WOW! WOW! Those are fantastic! So cute, so fun, so creative and OMG they make me crave a cupcake! These are fabulous!!!!!
Wonderfull@!!!!!!!!!!!!!!!!!!! I liked your cupcakes… kiss
Love, Love, Love these! You did a great job!
~*Jessica Lauren @ Copy-Cat-Crafter
Looks really fun Kendra! Glad you could share.
So sweet! Pun intended. How big are the canvases???
Thanks, everyone! I appreciate the testimonial, Melissa! 🙂 Wish I could have seen them in person.
I'm not positive, Shellie, but I want to say 16 x 16". In that ball park.
These are so cute! I want some for myself!
This is amazing! What a great idea and your attention to details to make it look just right! Magnificent! I know the receiver of these fell in love! Great Job!
Adorable!
LOVE!!! I am completely stealing this idea for my daughters' playroom. You did such a beautiful job!
Jenny
http://daysofchalkandchocolate.blogspot.com
Wow!!! That's all I can say until I pick my jaw off the floor…
Amazing! 🙂
I adore these! How super cute! That product sounds super cool! It totally does look like frosting!